


Let's go through some common elements and try them in our index.html page from part 1
In our index.html page, delete the content inside the body element and write the code in each section below inside the body element. Save the file and view the result in the browser.
The heading element is used for headings and titles and it has six levels from <h1> to <h6>:
<h1>heading 1</h1>
<h2>heading 2</h2>
<h3>heading 3</h3>
<h4>heading 4</h4>
<h5>heading 5</h5>
<h6>heading 6</h6>
The paragraph element is for paragraphs and we write it with the <p> tag:
<p>This is my paragraph</p>
We can apply line breaks with the line break element using the <br> tag:
This text <br> will show on <br> multiple lines
The horizontal rule element written with the <hr> tag adds a horizontal line to the page:
<hr>
Notice that <br> and <hr> tags are self closing tags which means they don't need a closing </br> or </hr> tag at the end.
We can set the text style to italic using the <i> tag:
<i>This text will show in italic</i>
The <u> tag underlines the text and it represents the unarticulated annotation (underline) element:
<u>underlined text</u>
You can also add comments to your HTML page. A comment will only be visible in your code and it will not display in the the browser. An HTML comment starts with <!-- and ends with -->:
<!-- This text will not show in the browser -->
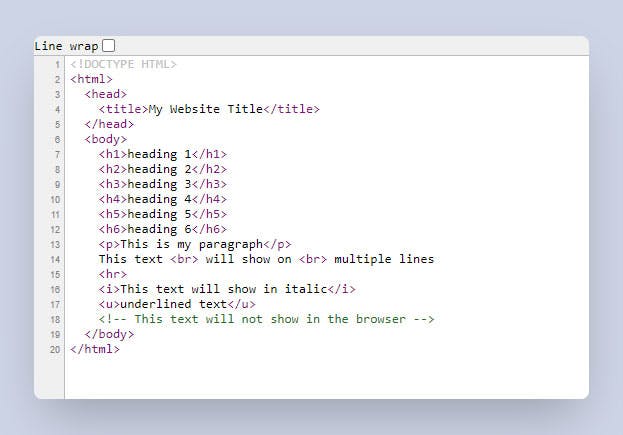
Your index.html page should look like this:
<!DOCTYPE HTML>
<html>
  <head>
      <title>My Website Title</title>
  </head>
  <body>
    <h1>heading 1</h1>
    <h2>heading 2</h2>
    <h3>heading 3</h3>
    <h4>heading 4</h4>
    <h5>heading 5</h5>
    <h6>heading 6</h6>
    <p>This is my paragraph</p>
    This text <br> will show on <br> multiple lines
    <hr>
    <i>This text will show in italic</i>
    <u>underlined text</u>
    <!-- This text will not show in the browser -->
  </body>
</html>
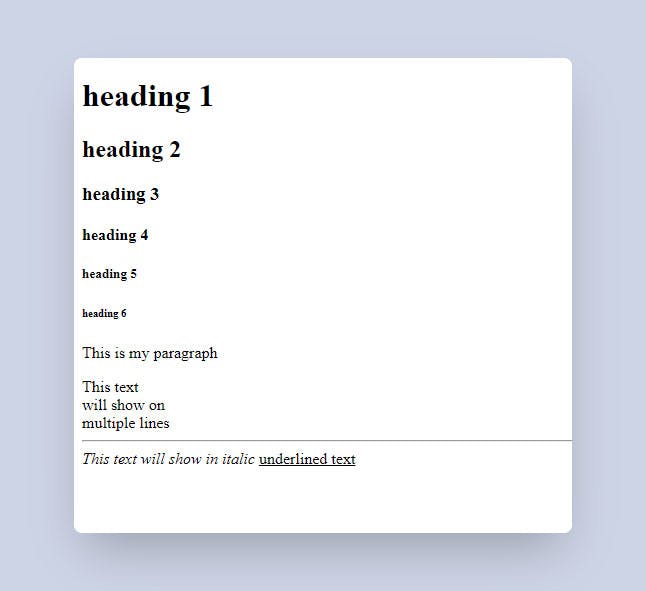
And here is the result in the browser:
View Page Source
In our browser, right click and select View page source. This opens a new tab and shows the source code for your HTML page. This mode allows us to be able to see the source code from the browser. Also note that although the comment was not displayed in the browser but we can see it in this mode.
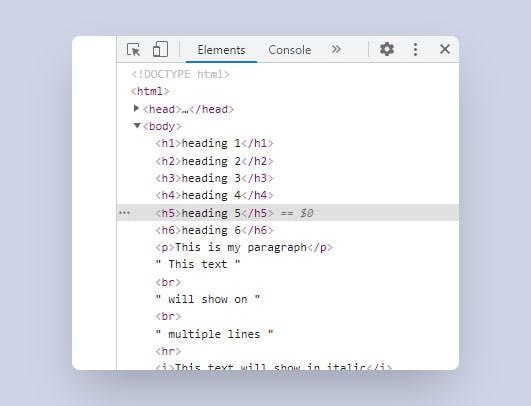
Chrome Developer Tools (DevTools)
Chrome Developer Tools (DevTools) provides lots of features that helps you fix problems in your page or even editing your page on the fly. To access the Chrome DevTools, right click on the page and select Inspect. This will open the Devtools and it will have the Elements tab selected. It is like the view page source but with more features. You can hover over the elements and see where they are, select top left icon and click on the elements from the page to inspect them, or right click on an element and modify the element to see how they will look like without doing that change in your index.html file.
Adding Lists to Your HTML Page
We can add an ordered list element to our page using the <ol> tag:
<ol></ol>
But how are we going to define each item in our list? For that, we need to use a list item element for each item in our list. The list item element's tag is the <li> tag and it needs to be inside our ordered list element. So the list item (<li>) element is the child of the ordered list (<ol>) element.
<ol>
  <li>Red</li>
  <li>Green</li>
  <li>Blue</li>
</ol>
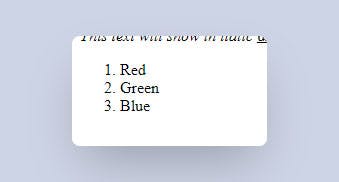
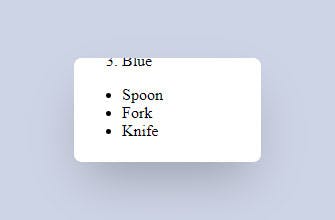
Copy the code above and paste it our index.html file, at the end of the last element we added. Save the file and refresh the page to see the ordered list added at the end:
We can also add unordered lists to our page with the <ul> tag. And just like the ordered list, we will need the list item element (<li>) for each of our list items:
<ul>
  <li>Spoon</li>
  <li>Fork</li>
  <li>Knife</li>
</ul>
Copy the code above and paste after the ordered list. Save the file and refresh the page in the browser:
Practice 1: Create a Home Page
Let's put the elements we covered so far in practice. I have prepared some text for our home page. Delete everything inside the body element so that we can have an empty page to start with.
Here is the content for the home page:
Page Name: index.html
Page Title: Code Pro Max | Home
Page Body:

Code Pro Max
Welcome to our website. We create web development tutorials to help the new developer advance their skills and become a better developer. Please subscribe to our YouTube channel to get notified once a new video is out!
And we want it to look like this:
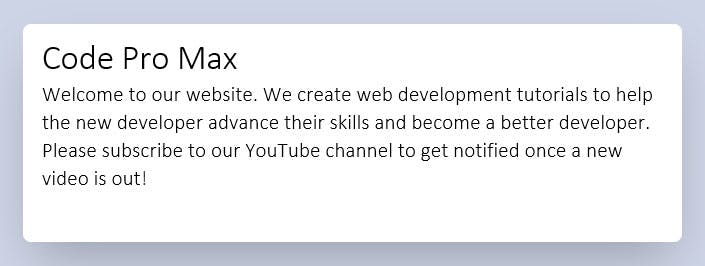
We have already named our page index.html. For the Page Title part, we need to change the page title inside our head element. For the Page Body section, the first line is a heading and I will use the <h1> tag and for the next section we will use a paragraph element.
<!DOCTYPE HTML>
<html>
  <head>
      <title>Code Pro Max | Home</title>
  </head>
  <body>
    <h1>Code Pro Max</h1>
    <p>Welcome to our website. We create web development tutorials to help the new developer advance their skills and become a better developer. Please subscribe to our YouTube channel to get notified once a new video is out!</p>
  </body>
</html>
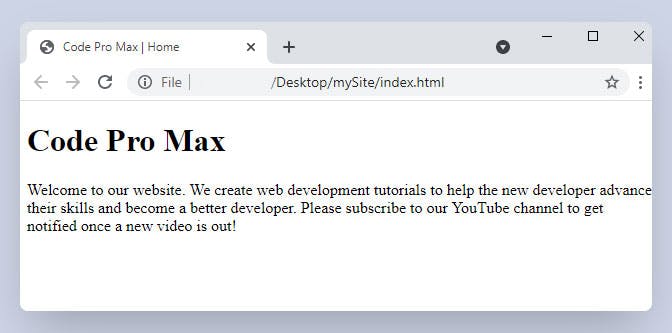
Save the file and refresh the page and we should see the changes.
Practice 2: Create a Blog Page
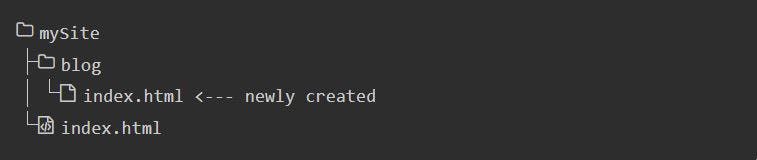
Inside the root folder (mySite), right click and create a new folder called blog and inside that, create a new file called index.html.
Here is our folder structure:
I will use the VS Code snippet by typing ! and then hit the Tab key to insert my HTML boilerplate.
Before we write our content inside the body element, we need to cover two new lines that got added with our HTML boilerplate:
<meta charset="utf-8">: which will tell the browser to use the UTF-8 character encoding.<meta name="viewport" content="width=device-width">: which tells the web browser to set the full width of the page equal to the device's screen width. So if we view the page on a desktop screen or on a mobile device, the full width of the page should always be equal to the full width of our device's screen.- I will delete the line
<meta http-equiv="X-UA-Compatible" content="IE=edge">as it is for supporting older versions of Internet Explorer browser.
I have prepared some content for the blog page:
Page Name: /blog/index.html
Page Title: Code Pro Max | Blog
Page Body:

Latest Blog Posts:

Top 5 places to go this weekend
Here is the list of top 5 places to go this weekend. Lorem ipsum dolor sit amet, consectetur adipisicing elit. Distinctio aut illo libero voluptas, deserunt voluptates eveniet! Nam dolore ea quasi temporibus adipisci. Quidem expedita corrupti vitae illo, quia. Doloremque, dicta!

What you need to know about the new iPhone
The new iPhone is one of the Lorem ipsum dolor sit amet, consectetur adipisicing elit. Libero rerum animi mollitia consectetur cum recusandae inventore, eveniet ratione eos, minus in assumenda sit perspiciatis iusto unde numquam distinctio commodi nulla!

How to change your iPhone's wallpaper
In order to change your wallpaper Lorem ipsum dolor sit amet, consectetur adipisicing elit. Numquam quia, esse odit ratione voluptatibus ipsa, eius, neque, earum suscipit iusto culpa. Nostrum blanditiis sapiente sunt ratione magnam tempora molestiae, hic.

Best software to use for your accounting needs
When you want to decide about a software, Lorem ipsum dolor sit amet, consectetur adipisicing elit. Placeat quam possimus facilis sunt, tempore explicabo officiis quibusdam ut, quisquam, et accusantium ullam minima. Earum omnis fuga, aliquid odio qui deserunt.
And we want it to look like this:
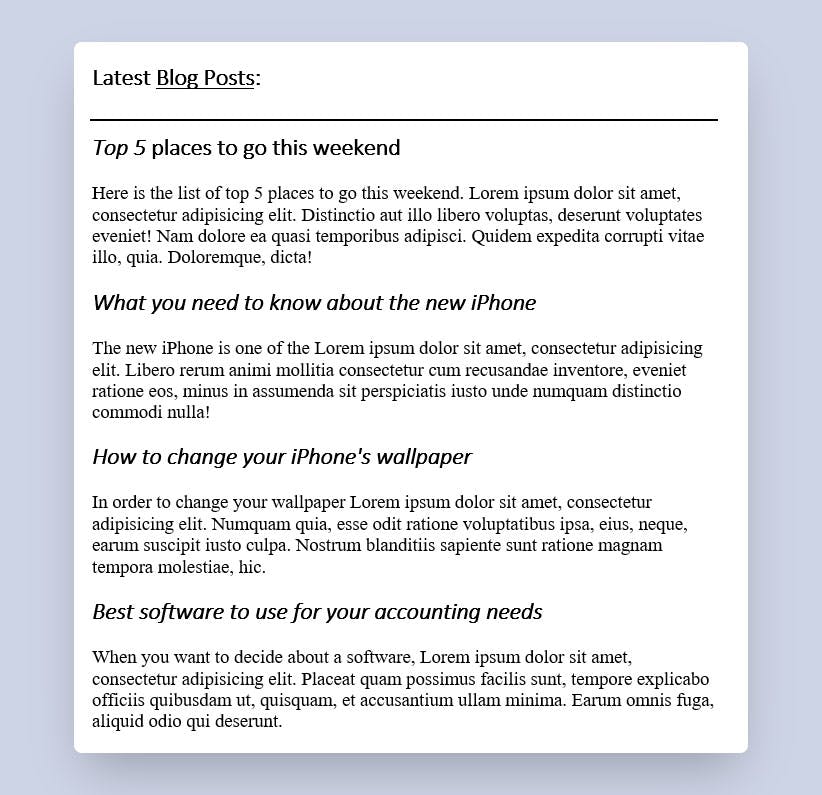
We can take a look at the whole page and see what elements we can use for each section. Here is what I think will be a good choice:
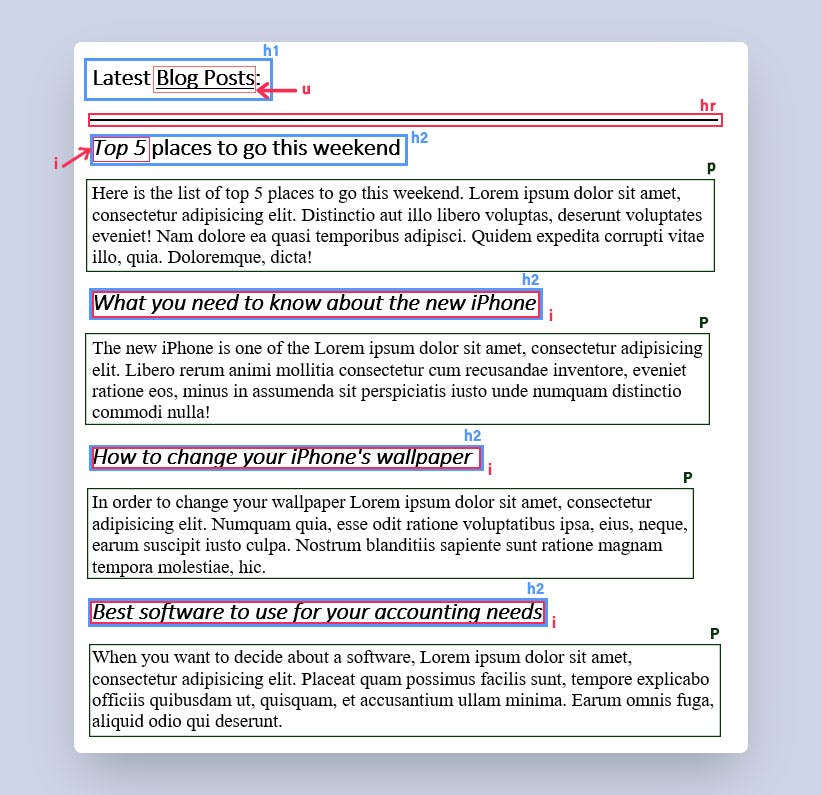
Here is the final code for our blog page:
<!DOCTYPE html>
<html>
  <head>
    <meta charset="utf-8">
    <meta name="viewport" content="width=device-width">
    <title>Code Pro Max | Blog</title>
  </head>
  <body>
    <h1>Latest <u>Blog Posts</u>:</h1>
    <br><br>
    <hr>

    <h2><i>Top 5</i> places to go this weekend</h2>
    <p>Here are the list of top 5 places to go this weekend. Lorem ipsum dolor sit amet, consectetur adipisicing elit. Distinctio aut illo libero voluptas, deserunt voluptates eveniet! Nam dolore ea quasi temporibus adipisci. Quidem expedita corrupti vitae illo, quia. Doloremque, dicta!</p>

    <h2><i>What you need to know about the new iPhone</i></h2>
    <p>The new iPhone is one of the Lorem ipsum dolor sit amet, consectetur adipisicing elit. Libero rerum animi mollitia consectetur cum recusandae inventore, eveniet ratione eos, minus in assumenda sit perspiciatis iusto unde numquam distinctio commodi nulla!</p>

    <h2><i>How to change your iPhone's wallpaper</i></h2>
    <p>In order to change your wallpaper Lorem ipsum dolor sit amet, consectetur adipisicing elit. Numquam quia, esse odit ratione voluptatibus ipsa, eius, neque, earum suscipit iusto culpa. Nostrum blanditiis sapiente sunt ratione magnam tempora molestiae, hic.</p>

    <h2><i>Best software to use for your accounting needs</i></h2>
    <p>When you want to decide about a software, Lorem ipsum dolor sit amet, consectetur adipisicing elit. Placeat quam possimus facilis sunt, tempore explicabo officiis quibusdam ut, quisquam, et accusantium ullam minima. Earum omnis fuga, aliquid odio qui deserunt.</p>
  </body>
</html>
Save the file, right click on the file and view it in the browser.

And there have our blog page!
Live Server Extension
Before we end this episode, I will show you another easy way to view your HTML page using a VS Code extension called Live Server.
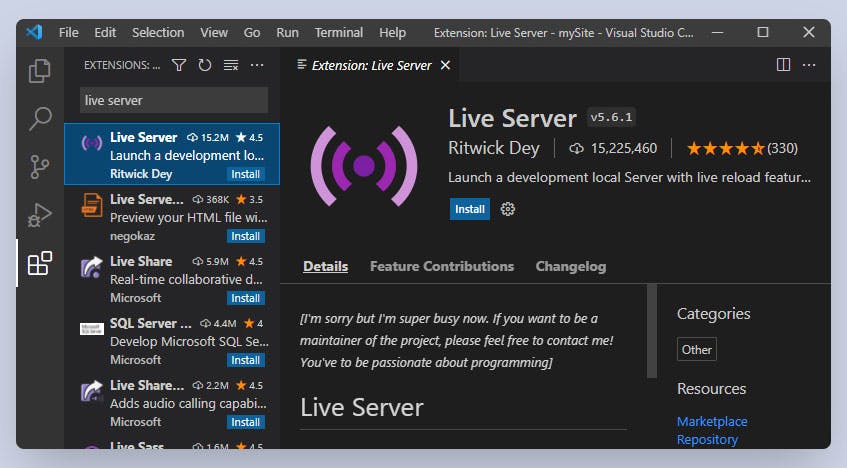
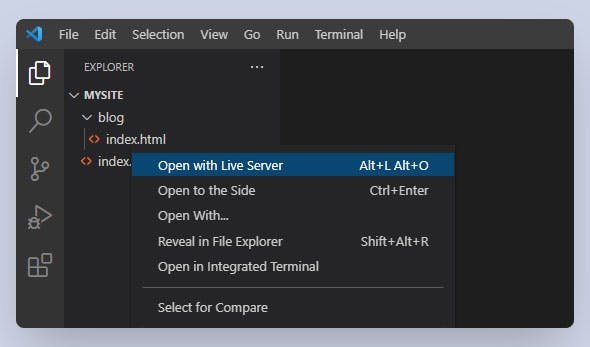
In VS Code, on the side-bar menu, click on the Extensions tab. Search for "live server" and install the first item in the search result. Once it is installed, click on the Explorer tab to get back to the folder tree view. Right click on the file (index.html) and select Open with Live Server. If the firewall prompts you, click on Allow Access and it should automatically open the page in the default browser.
You notice that although the result is the same as the way we were displaying the page before, but the URL is different. Also let's change the title of the page and save the file, you notice that it will automatically refresh the browser to show us the latest result (no need to manually refresh the browser every time we save the file).
If you view page source or open the Chrome DevTools in this mode, you will see that a new section got added to the source code and its first line is <!-- Code injected by live-server -->.
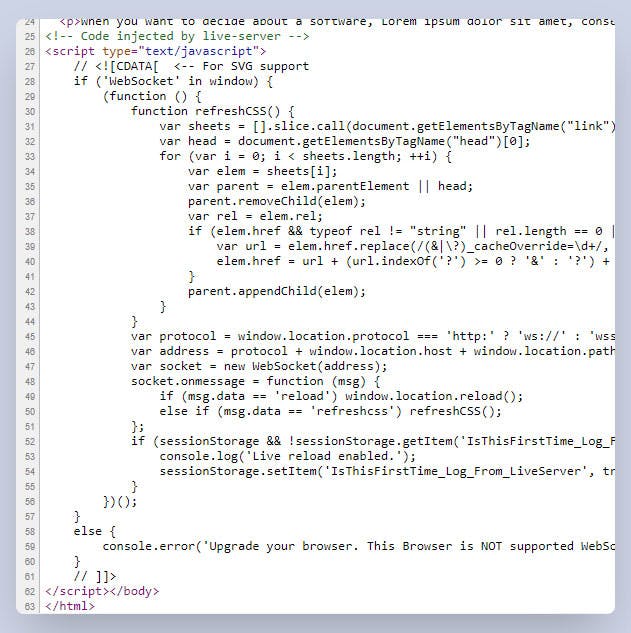
You can ignore this section as it is all related to the Live Server extension and it does not affect your code.