Let's add a link for each of our blog posts.
Inside the blog/ folder, I will create a new file called blog-post.html and for now, lets add the following html code to the page:
<!DOCTYPE html>
<html lang="en">
<head>
  <meta charset="UTF-8">
  <meta name="viewport" content="width=device-width, initial-scale=1.0">
  <title>Blog Post</title>
</head>
<body>
  <h1>First Blog Post</h1>
</body>
</html>
Save the file and view the result in the browser.

Inside blog/index.html file, after the first post, insert a new link to the blog/blog-post.html file:
<a href="blog-post.html">Read more</a>
save the file and view the result.

You notice that although we added the link after the description of the first post, but it is showing next to the second post's image.
Block Elements and Inline Elements
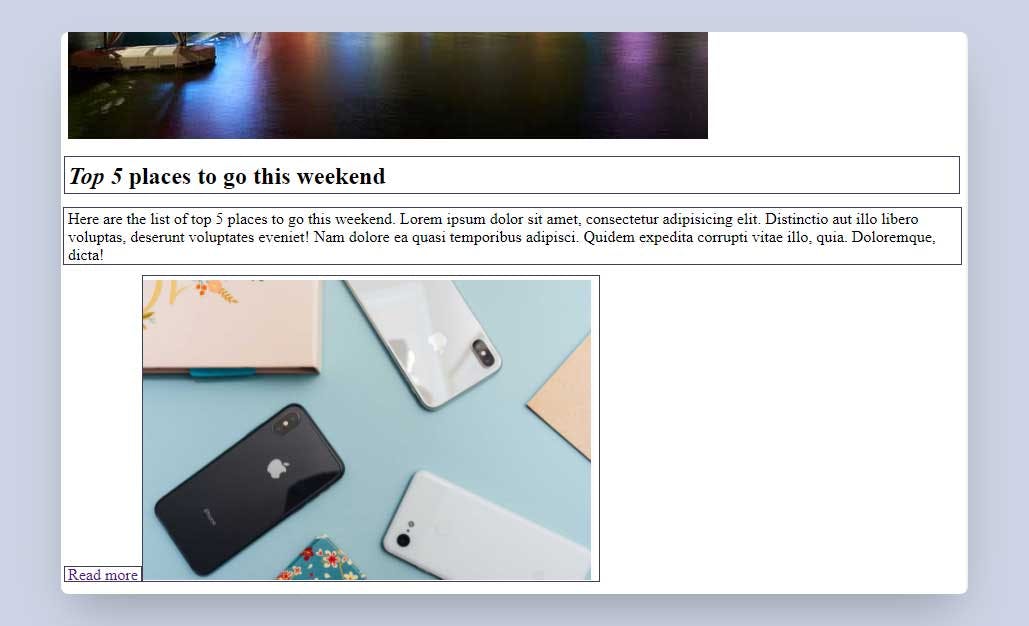
Every HTML element is either a block element or an inline element. A block element starts on a new line and takes the whole width of the browser. An inline element only takes the width that it needs to show its content and does not start on a new line.
By looking at our page, we notice that the heading element is a block element as it starts on a new line and it takes the whole width of the browser. The paragraph element is also a block element.

If we take a look at the anchor element (<a> tag) it starts on a new line because the paragraph element before that, took the whole width but the anchor element does not take the whole width because the image element (which is an inline element as well) started right next to the anchor element.
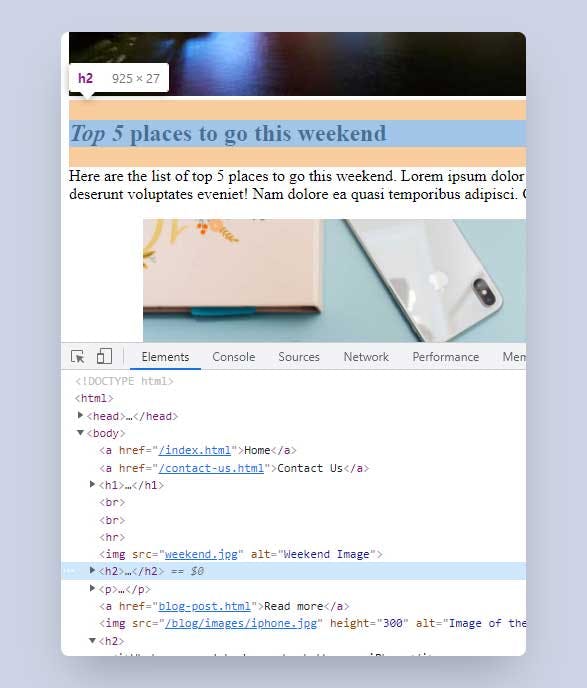
In order to better understand how much space each element is taking, we can check the elements inside the Chrome DevTools. Right click on the page and select Inspect. Expand the body element inside the "Elements" tab and hover over the element related to the blog page. As you hover over each element, the element gets highlighted inside our page and we see how much space they take.

One way to solve our issue with the "Read more" link is to place a <br> tag after the link. But that way is not a good practice as HTML provides an element to separate different sections of the page from each other.
We can separate each section of the page with the division element using the <div> tag:
<div>Section 1</div>
<div>Section 2</div>
The <div> tag is a block element and acts like a container around its content. Let's use <div> tags around each of our blog posts. We can also move our navigation links into a <div> tag.
Here is the final code of the body element inside the blog/index.html file:
<body>
  <div>
      <a href="/index.html">Home</a>
    <a href="/contact-us.html">Contact Us</a>
  </div>

  <h1>Latest <u>Blog Posts</u>:</h1>
  <br><br>
  <hr>

  <div>
    <img src="weekend.jpg" alt="Weekend Image">
      <h2><i>Top 5</i> places to go this weekend</h2>
    <p>Here are the list of top 5 places to go this weekend. Lorem ipsum dolor sit amet, consectetur adipisicing elit. Distinctio aut illo libero voluptas, deserunt voluptates eveniet! Nam dolore ea quasi temporibus adipisci. Quidem expedita corrupti vitae illo, quia. Doloremque, dicta!</p>
    <a href="blog-post.html">Read more</a>
  </div>
  <div>
    <img src="/blog/images/iphone.jpg" height="300" alt="Image of the iPhone">
    <h2><i>What you need to know about the new iPhone</i></h2>
    <p>The new iPhone is one of the Lorem ipsum dolor sit amet, consectetur adipisicing elit. Libero rerum animi mollitia consectetur cum recusandae inventore, eveniet ratione eos, minus in assumenda sit perspiciatis iusto unde numquam distinctio commodi nulla!</p>
  </div>
  <div>
    <img src="../wallpaper.jpg" height="300" alt="Wallpaper">
      <h2><i>How to change your iPhone's wallpaper</i></h2>
    <p>In order to change your wallpaper Lorem ipsum dolor sit amet, consectetur adipisicing elit. Numquam quia, esse odit ratione voluptatibus ipsa, eius, neque, earum suscipit iusto culpa. Nostrum blanditiis sapiente sunt ratione magnam tempora molestiae, hic.</p>
  </div>
  <div>
    <img src="https://image.freepik.com/free-photo/flat-lay-business-concept_53876-24738.jpg" alt="Business Software">
      <h2><i>Best software to use for your accounting needs</i></h2>
    <p>When you want to decide about a software, Lorem ipsum dolor sit amet, consectetur adipisicing elit. Placeat quam possimus facilis sunt, tempore explicabo officiis quibusdam ut, quisquam, et accusantium ullam minima. Earum omnis fuga, aliquid odio qui deserunt.</p>
  </div>
</body>
Save the file and check the result.

So we can say that a <div> is a block container that separates different sections of the page.
But what if we want a container without the block effect? This is where the span element can help us. The span element is an inline container and we can apply it using the <span> tag.
<span>Section 1</span>
<span>Section 2</span>
A place that we can use the span element is for our navigation. We can put each of the navigation links into its own span container without changing them to a block element.
Here is the navigation links inside the blog/index.html file:
<div>
  <span>
      <a href="/index.html">Home</a>
  </span>
  <span>
      <a href="/contact-us.html">Contact Us</a>
  </span>
</div>
Save the file and check the result. We can see that although we have separated each link with the span element, but the result is the same as before.